Installation and First Steps
1 Software download
2 Connect Mini PLC to the computer (example STG-600)
3 User interface
4 Start software
If the video does not work, you can click here to watch.
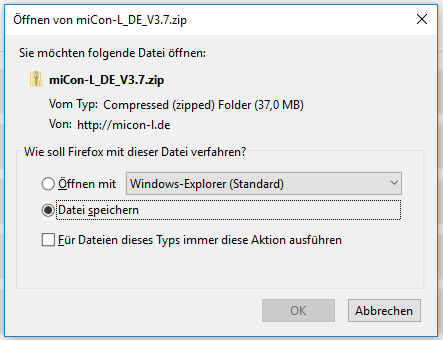
To download miCon-L, please visit our Downloads area.

Save zip file
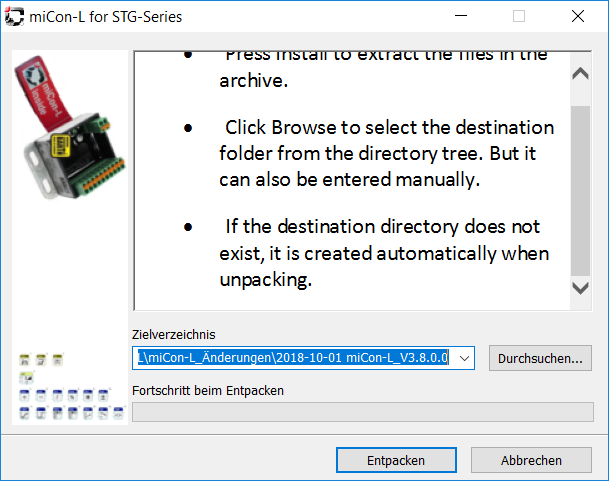
Open download folder and extract file (f. e. with WinRar)
Run miCon-L_EN_V3.7.exe by double clicking in the folder Download
Accept licence agreement (Annehmen)

Extract program files by following the installation instructions
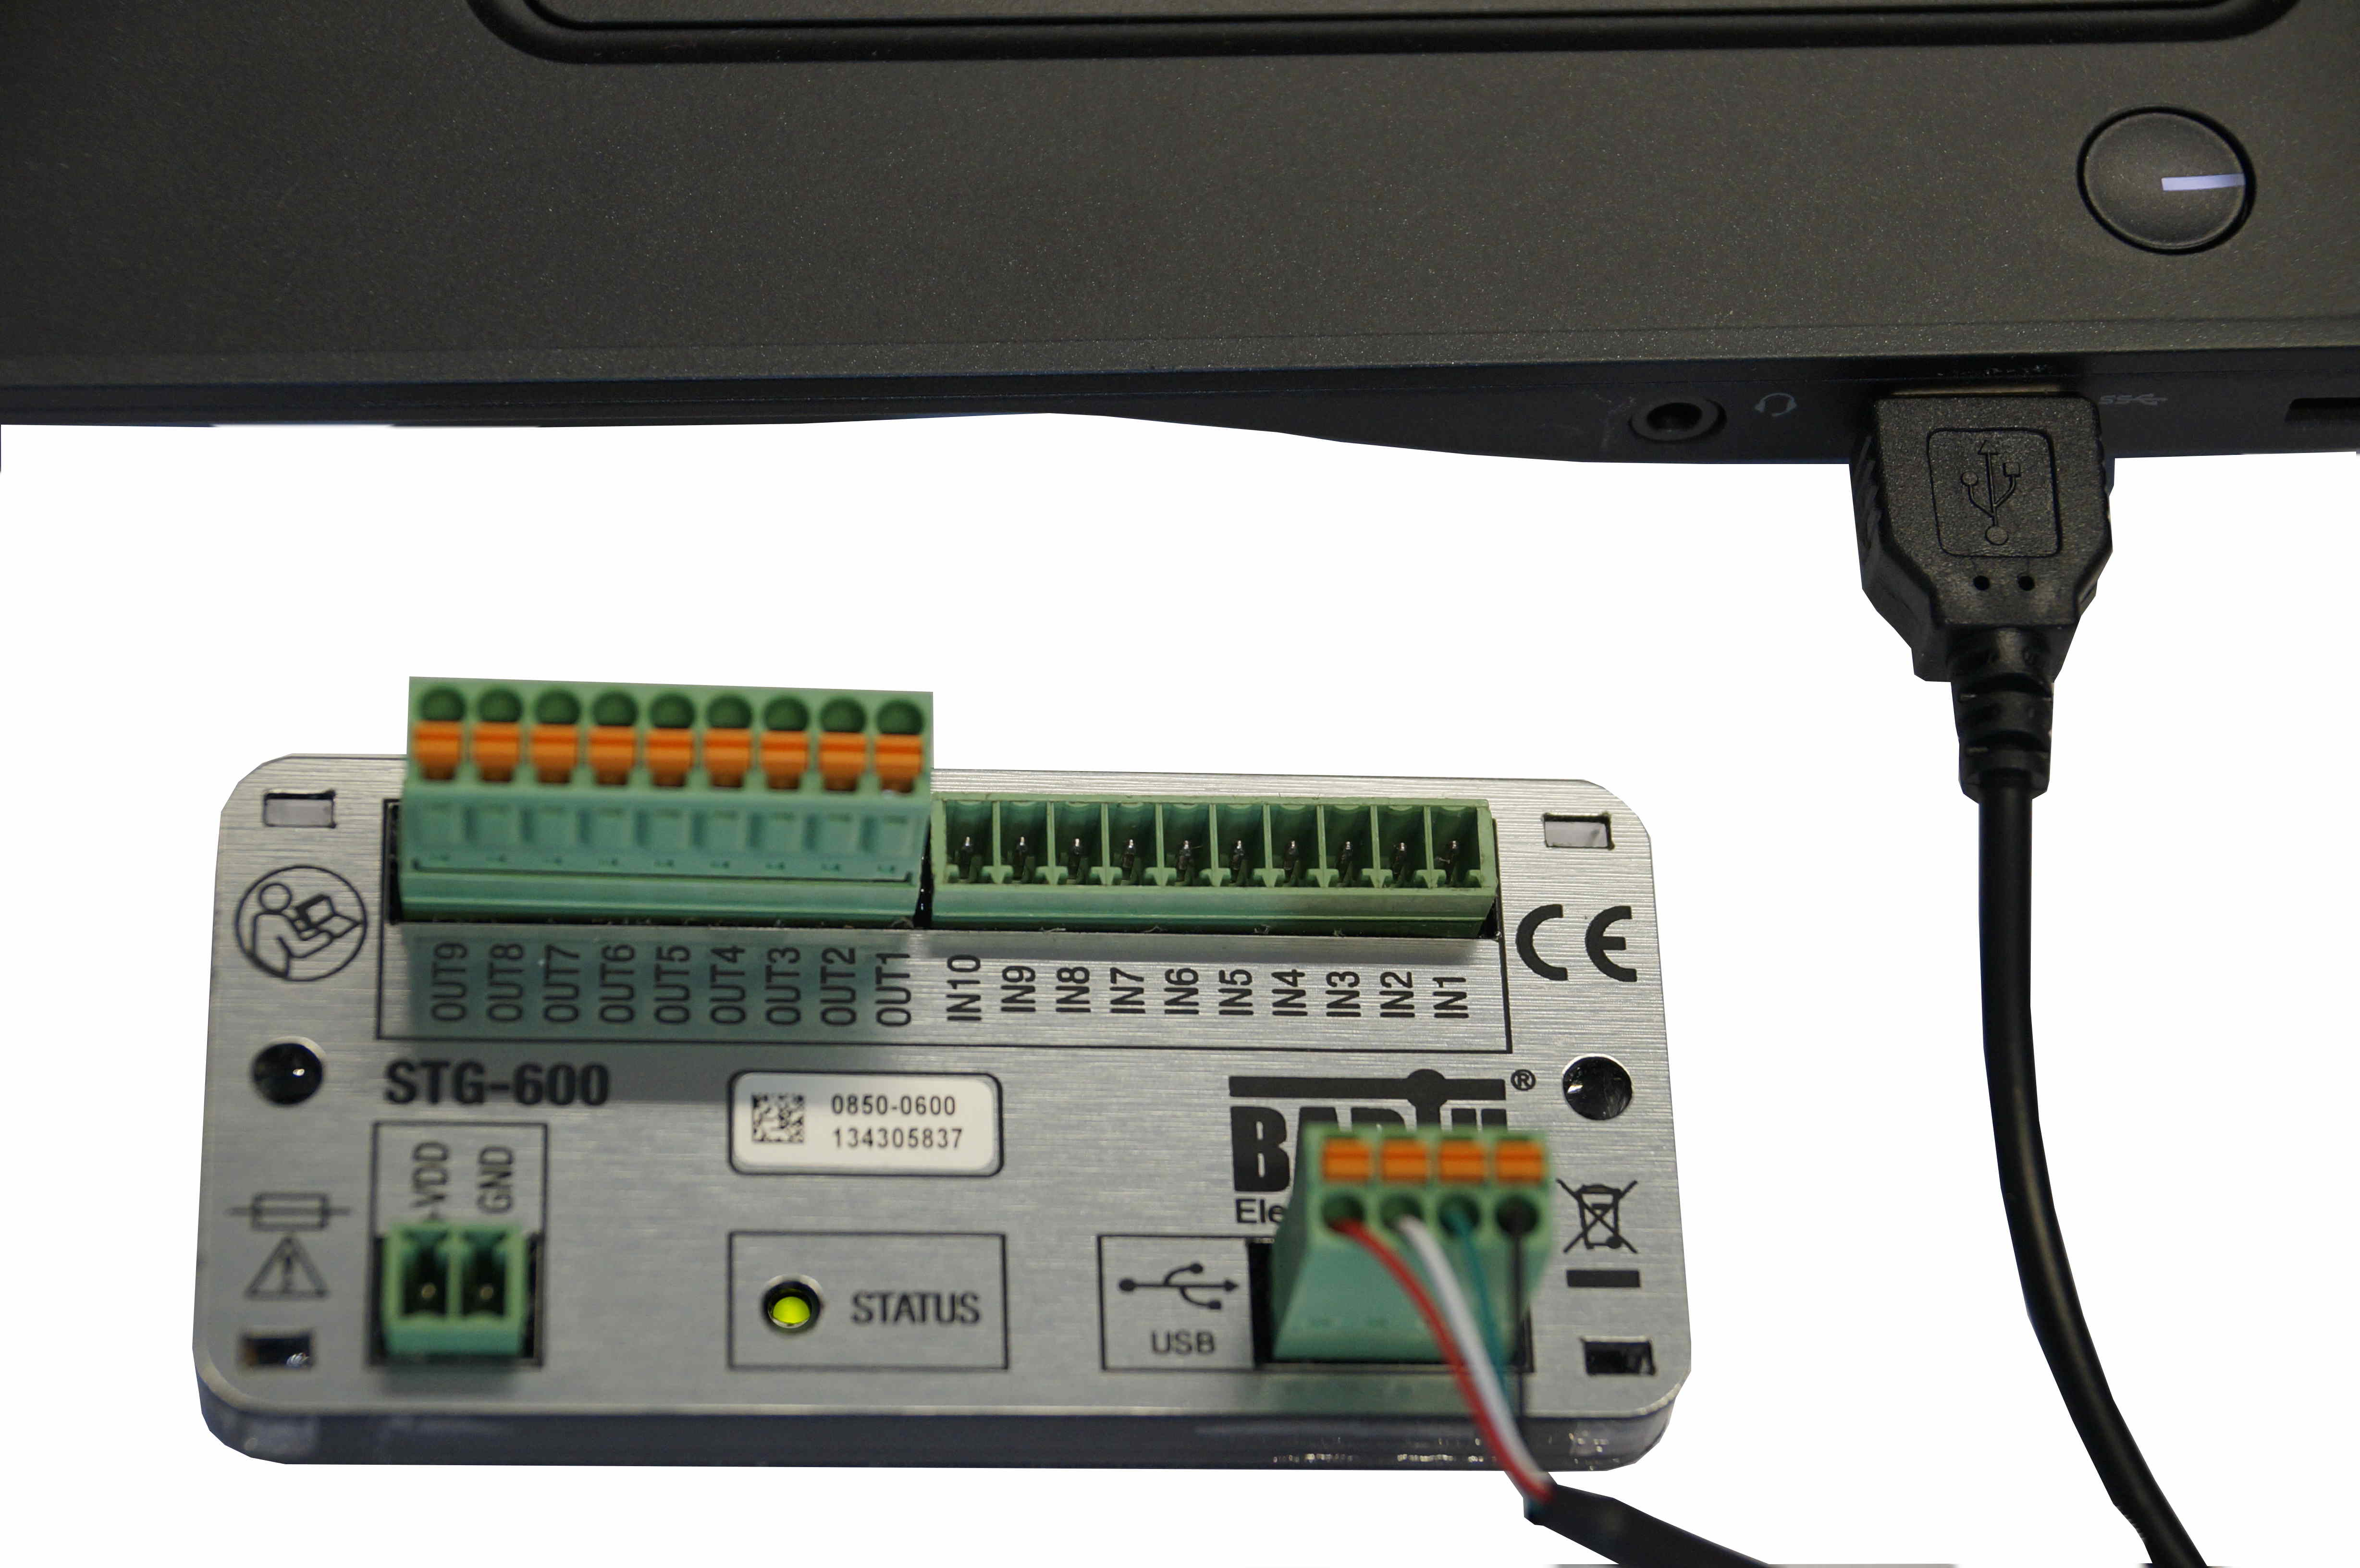
2 Connect the Mini PLC to the computer (example STG-600)
The STG-600 from Barth Elektronik at a glance:
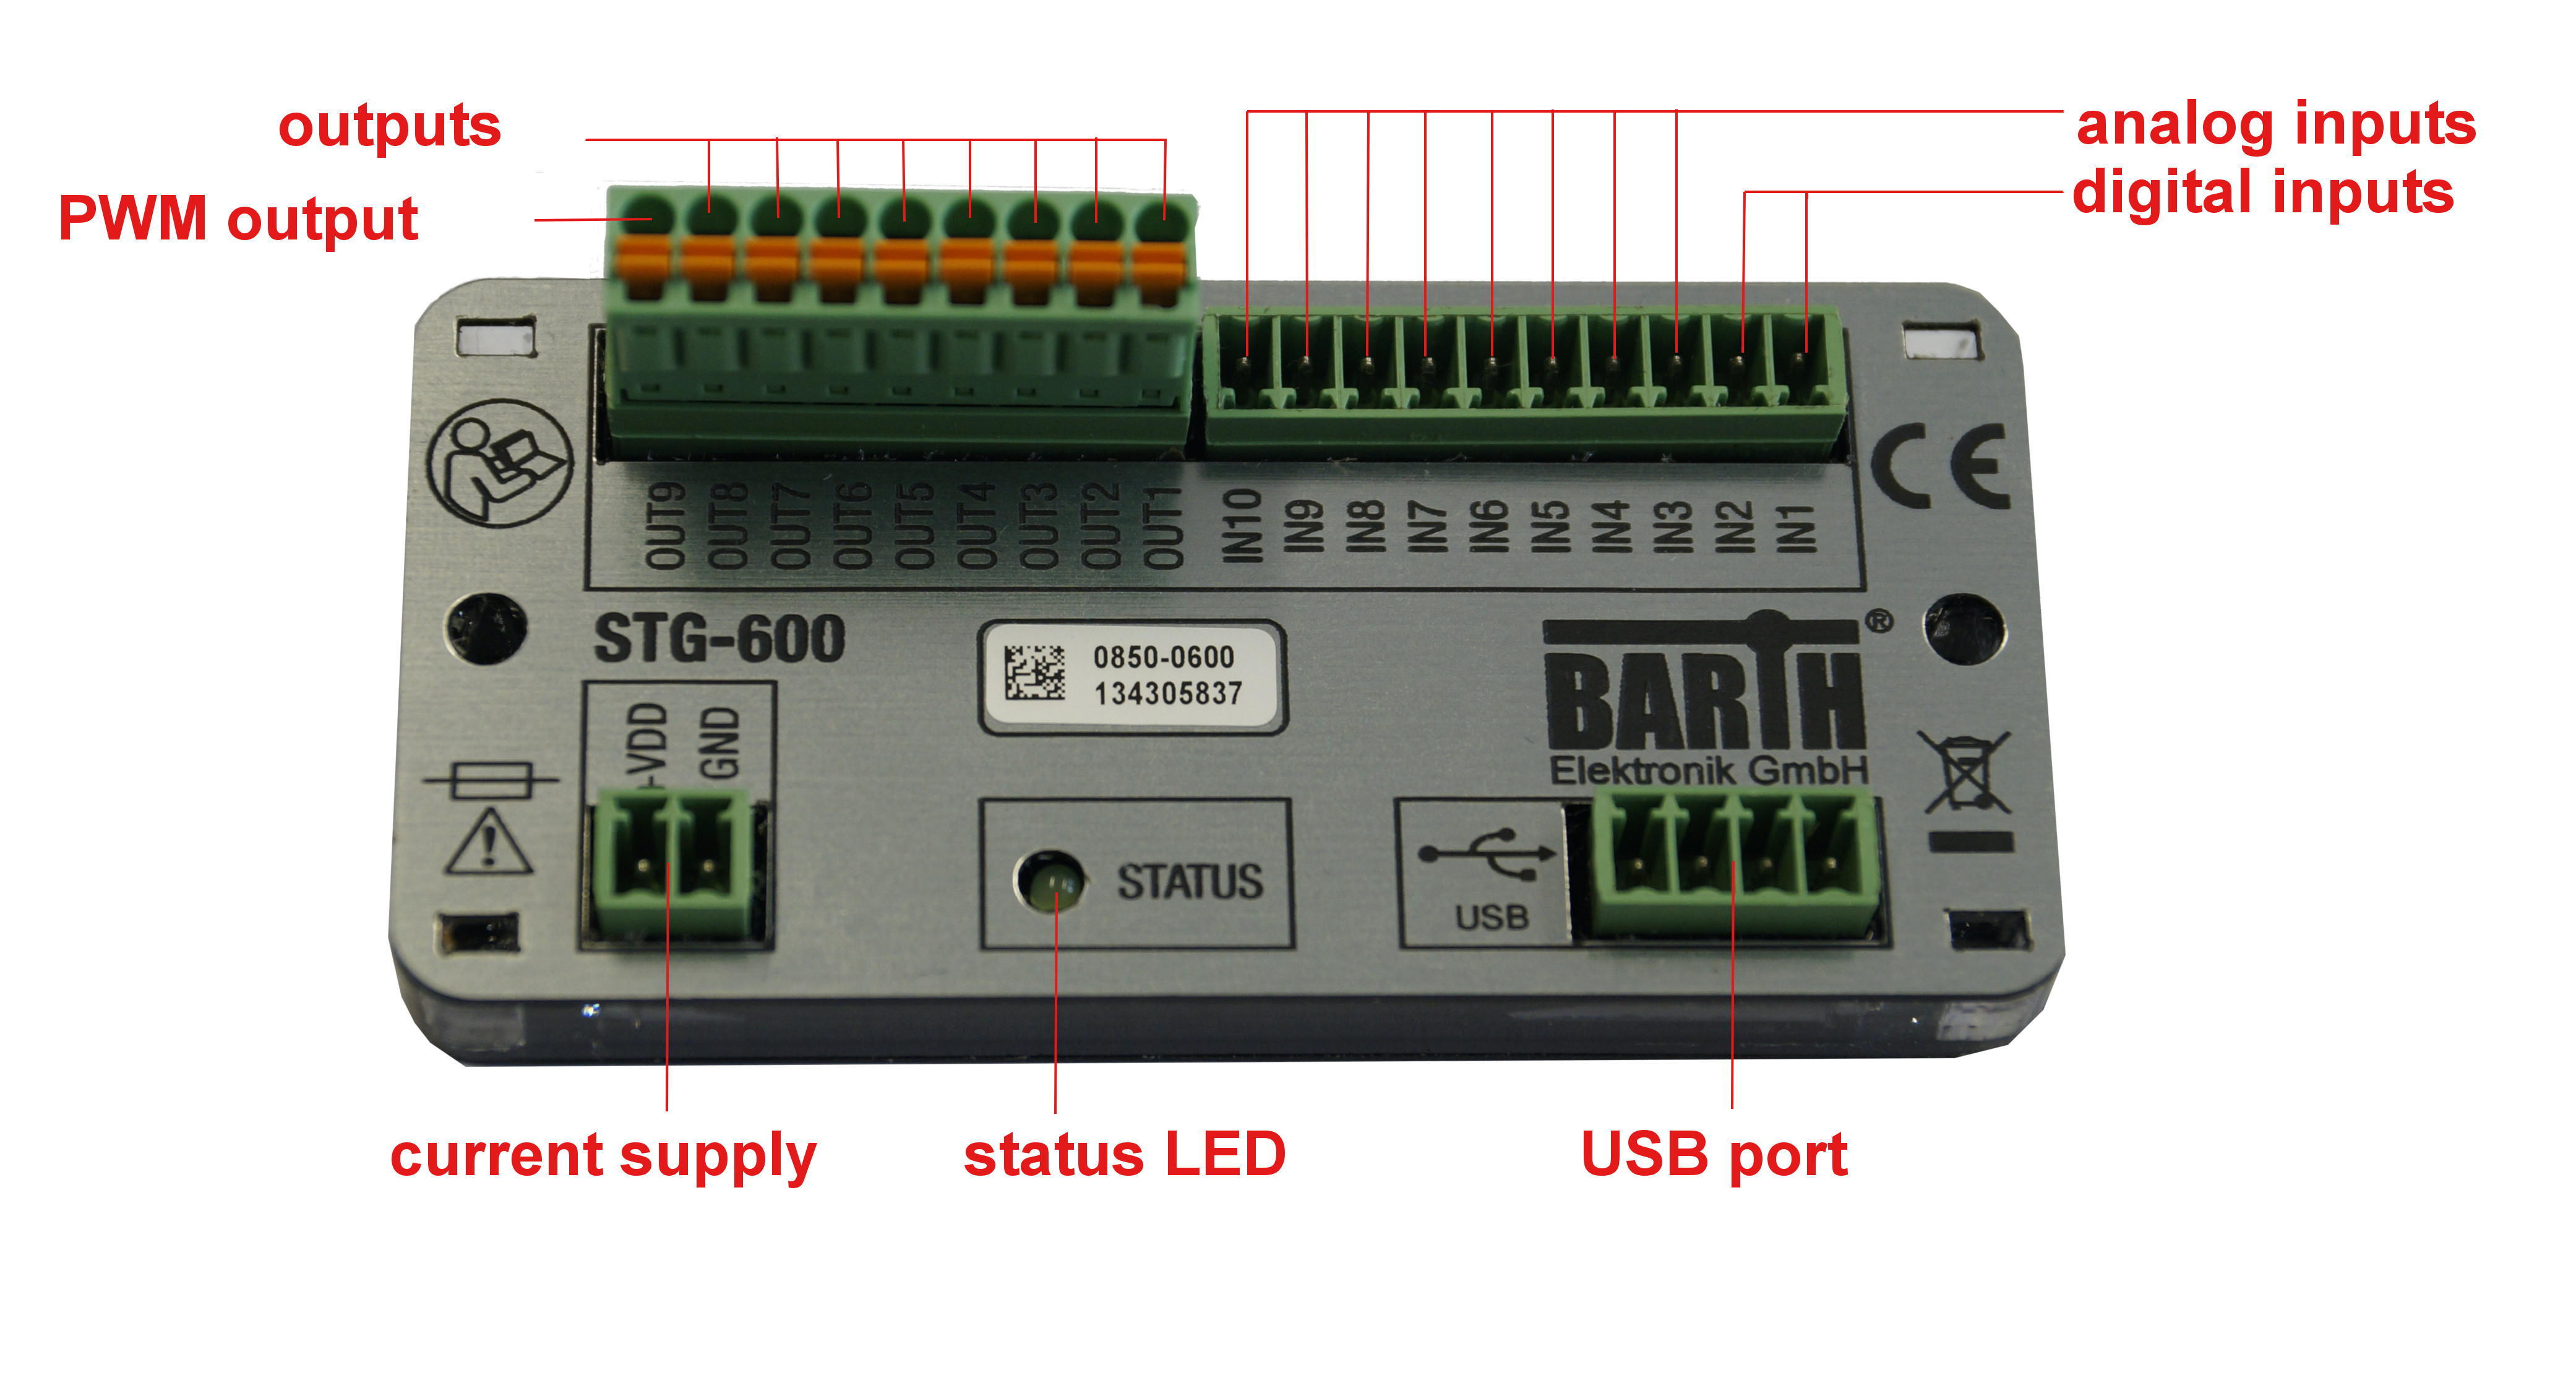
Connect the Mini PLC to a power supply. Then, connect the USB cable to the Mini PLC and the computer. By factory default, the status LED will start blinking on the STG-600 as soon as the power supply is connected.
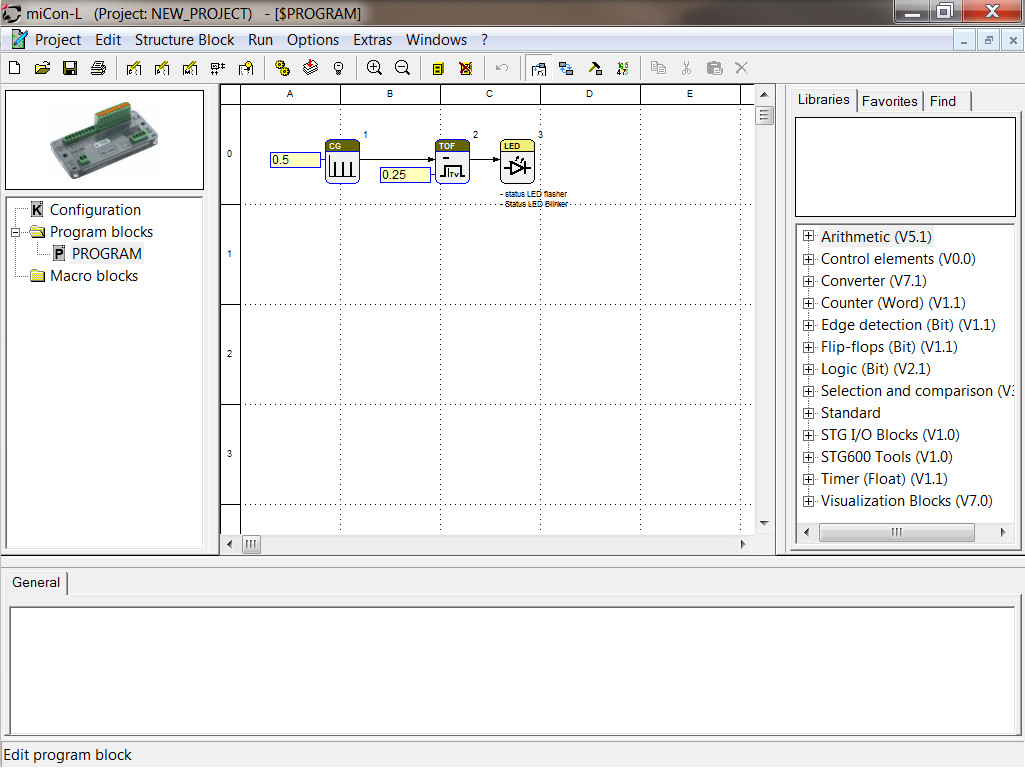
3 User interface
Following, the user interface of the software miCon-L:

Commands can be used from the submenus, toolbar, context menu (right click) and key combination.
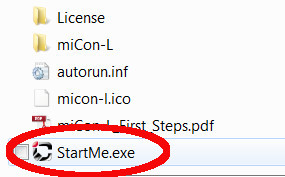
4 Start software
Open StartMe.exe
Select “Start miCon-L graphical programming”
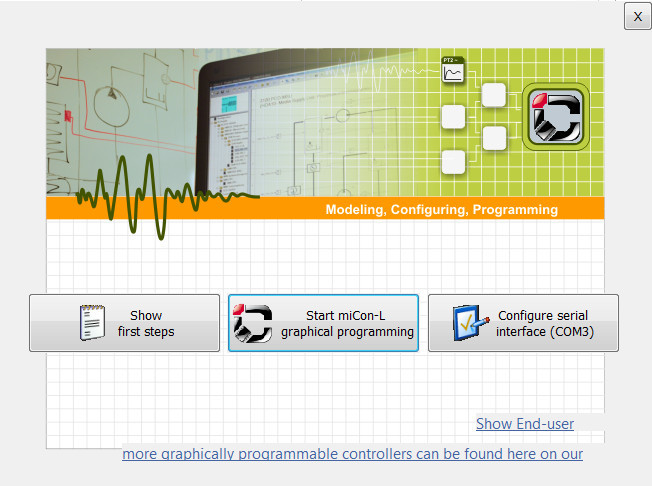
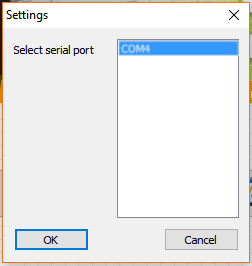
Click on "Configure serial interface (COM)" to select the right COM port
Create new project

Choose connected PLC and project name
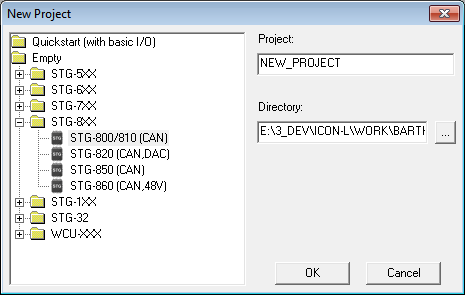
It automatically goes into edit mode